I saw this on Pinterest and I thought it looked super cute. I modified it to meet my "needs" so here is my version.
Supplies needed
10 foot 4x4 ( Home Depot $9.49) cut into six different sizes, which they will do for you
1x1 square dowel ( Home Depot scrap section $.51)
electric sander ( if you don't have one you could do it by hand)
sand paper for sander
finishing nails
hammer
leather gloves
1 can orange spray paint ( Home Depot $3.49) I chose satin for both colors
1 can brown spray paint ( Home Depot $3.49)
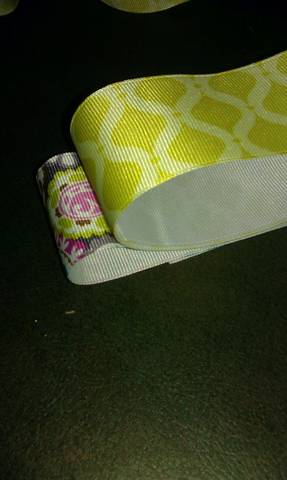
1 spool of purple ribbon ( Hobby Lobby $1.49) each
1 spool of green ribbon
1 spool of jute ribbon or burlap
several sizes of chisels
Total cost of project ..da, da, da, da...... less than $23.00!!!!
First at Home Depot I had the lumber dude cut my 10 ft 4x4 into 6 pieces ( I told him to wing it and he said I was his easiest job he had all day)
I also had him cut the dowel into six pieces as well
This is what your lumber will look like
Next you want to knock off the squared edges off the 4x4 to make them more "rounded". I used the chisel and set the 4x4 upright and wore gloves and used the hammer to pound in the chisel to "round off the corners". Do this on just the 4x4 I left the 1x1 squared off .
Next step is laying all of the pieces of wood upright on cardboard and spray paint them. The 4x4's spray orange and the 1x1 spray brown. Let them dry in between coats.
Then watch in amazement as your neighbors walk by to ask what "project" are you working on now? :) haha... Careful with the spray paint too. I worked on this when we had absolutely no wind. You don't want this to "drift" and cause over spray on cars... I mean things...
After your wood has dried, sand them all and distress them with the sander. I took extra sanding to the corners and edges to take on the details. The 4x4's are rough lumber so you will need to sand them well. Sand the 1x1's as well to distress them too.
After sanding I took the finishing nail and pounded it half way into the middle of the 4x4 to make a hole. I removed the nail and put the head of the nail into the hole it left, leaving the point exposed in the middle of the 4x4. I then took the 1x1 brown stem and pounded it into the 4x4 so the stem was affixed by the nail. I did this to all 6 pumpkins. Grouped them by 3 and tied them off with jute ribbon. I also took an extra detail and put the green and purple ribbon onto the 1x1 "stem" making them look a little more festive for Halloween. I will do the same after Halloween for a more universal fall look .
I hope the last few steps make sense. I forgot to snap some more pictures. Comment me below if you need help with anything :)
Here is the final product, this does make 2 sets of 3, but my Mom holds a special place in my heart so she got one... Yes, she is spoiled :) She deserves every bit though... Enjoy and Happy Halloween Decorating!!! - Kadi